How to film yourself driving is one of those questions that seems simple until you actually try it solo. You want interior shots, exterior shots, smooth footage, and great audio. Plus you need to do it safely without taking your eyes off the road.
The setup below is the one that has consistently worked for me after testing a bunch of different ideas. It is built around the Insta360 Ace Pro 2 and a handful of accessories that make capturing driving content manageable, even when you are doing everything yourself.
Why solo driving content is harder than it looks
When you create driving videos alone, you do not just need “a camera.” You need a system that handles:
- Multiple angles (interior and exterior)
- Stable mounting (especially on moving vehicles)
- Audio quality (wind and vehicle noise matter)
- Safety (control recording without fiddling)
That is why this setup leans heavily on smart mounting options plus voice and remote control.
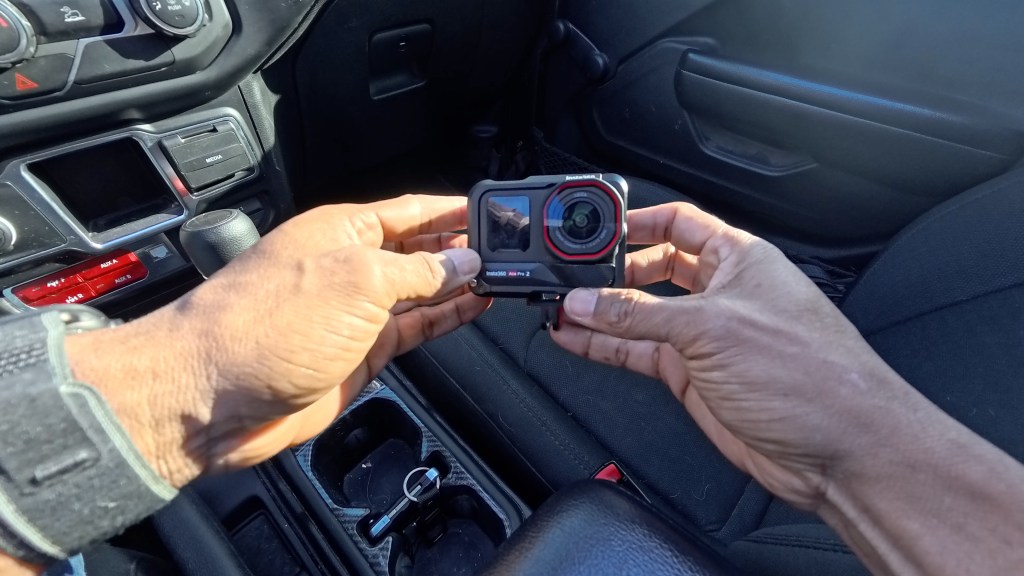
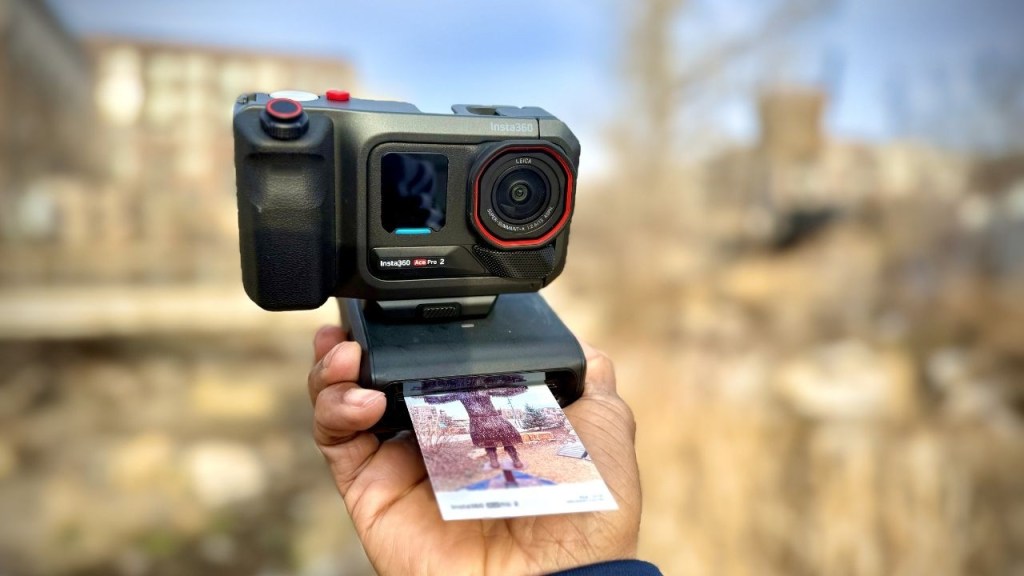
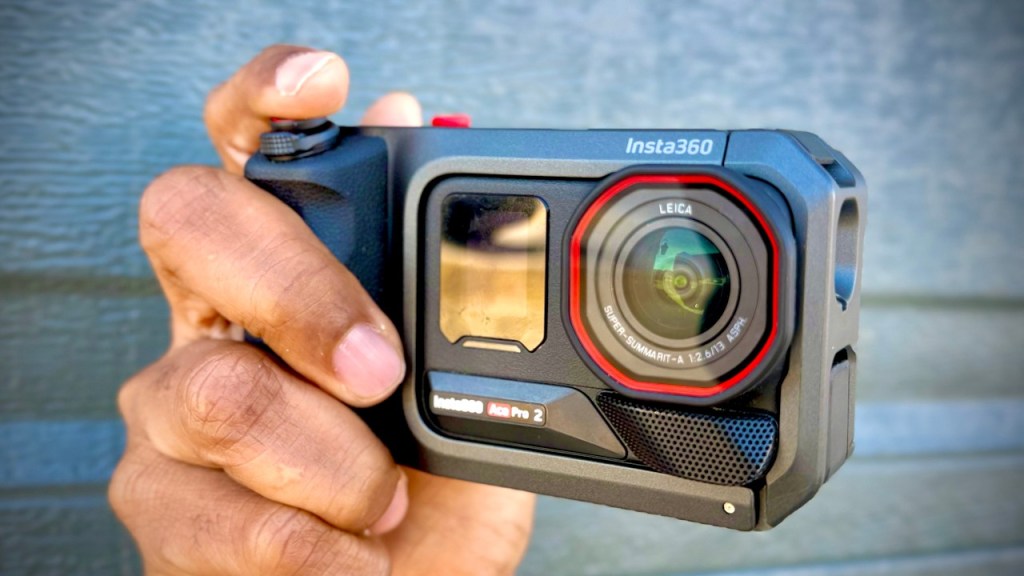
The core camera: Insta360 Ace Pro 2
For how to film yourself driving, the camera has to be tough, compact, and dependable. Action cameras are ideal because they are made for vibration, bumps, and real-world use.
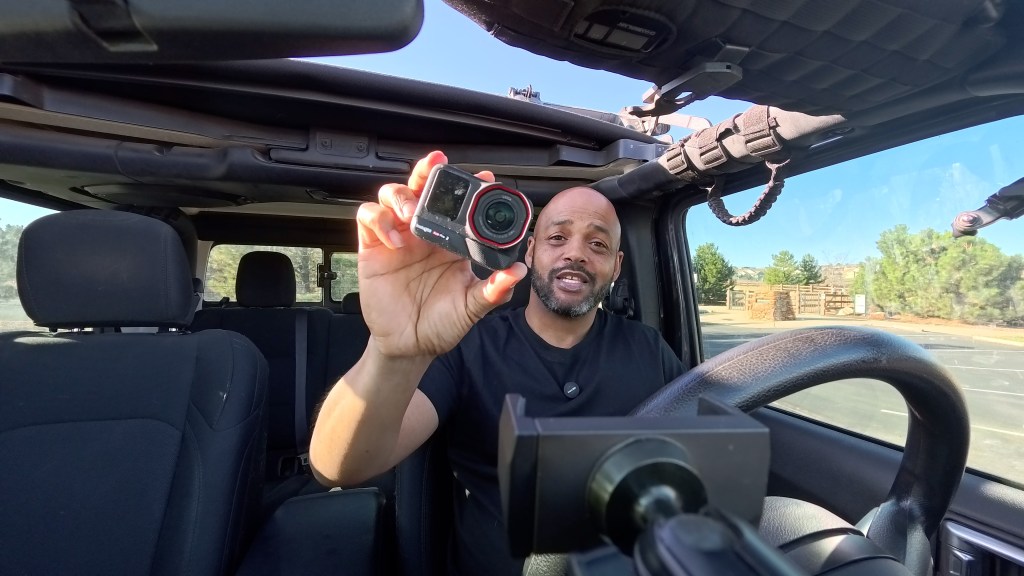
I use the Insta360 Ace Pro 2 because it stays durable like an action cam, but still delivers strong image quality in both daylight and low light. If you are filming at different times of day, that matters more than people think.
Audio matters more than you expect
Driving content is not just visuals. It is the sound of the car: wind, exhaust, engine note, all of it. The Ace Pro 2 includes a solid internal microphone, but I also use an external mic when I want cleaner voice audio while I am riding inside a loud vehicle.
If you are looking for a quick win, consider pairing it with the Mic Air. It is small, mounts easily, and is designed to work seamlessly with Insta360 devices.
Interior shots: get creative with mounts
Interior filming usually means you are trying to capture angles that do not block your view and still look intentional in the edit. Two interior mounting options I rely on are the Utility Frame and either a suction cup mount or the Flexi Clip.
1) Utility Frame: extra protection + more mounting options
The Ace Pro 2 slides into the Utility Frame, and that frame adds protection. If you mount the camera where it could accidentally drop, having that extra layer is a big deal.
What I like most is flexibility:
- Vertical or horizontal mounting
- Two-prong adapter for compatibility with accessories
- Cold shoe if you want to attach a light
2) Suction cup mount: classic windshield and window angles
A suction cup is a tried-and-true way to mount action cameras quickly. I use it with the camera facing into the car toward me.
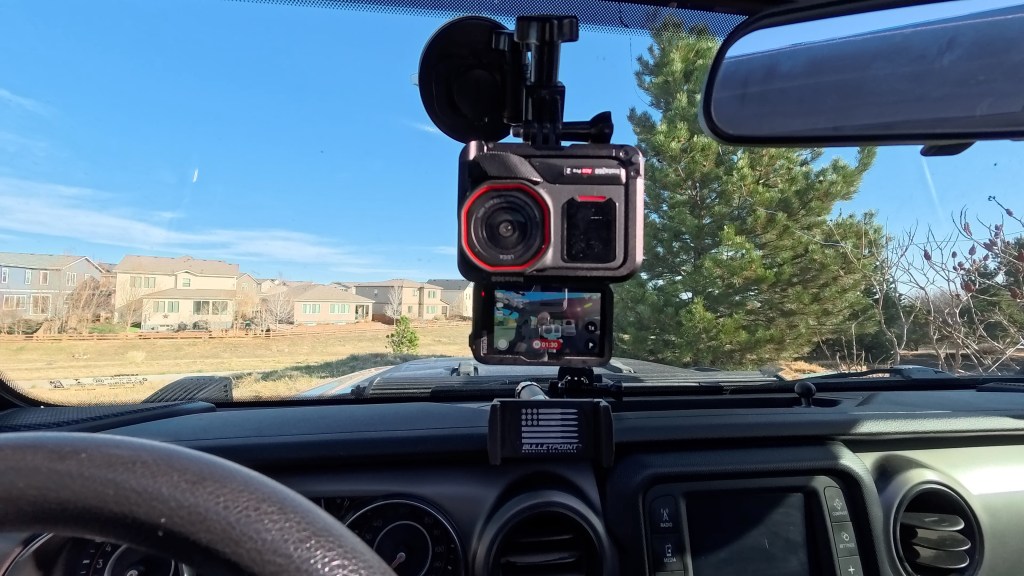
Windshield setup (driver-facing)
This is the standard “front windshield looking into the cabin” shot. The Ace Pro 2’s wide field of view helps you capture more of the interior, and the FlowState stabilization gives smoother footage.
Also, having the flip screen down makes it easier to confirm you are in frame and that settings are correct before you start moving.
Driver side window angle
I also like attaching the camera to the driver side window because it gives you a different angle without blocking the main view out the windshield.
Passenger window angle (good for B-roll)
Passenger window shots are great for B-roll, even if they are not ideal for talking straight to camera.
Important reality check: suction cups are good, but exterior reliability is never guaranteed. I had one suction setup fail while driving, so for exterior filming I moved to stronger options later in the process.
3) Flexi Clip: better interior control and fast angle changes
The Flexi Clip is the interior mount I prefer for most driving shots. It clamps onto compatible points and the head swivels so you can aim and lock the camera quickly.
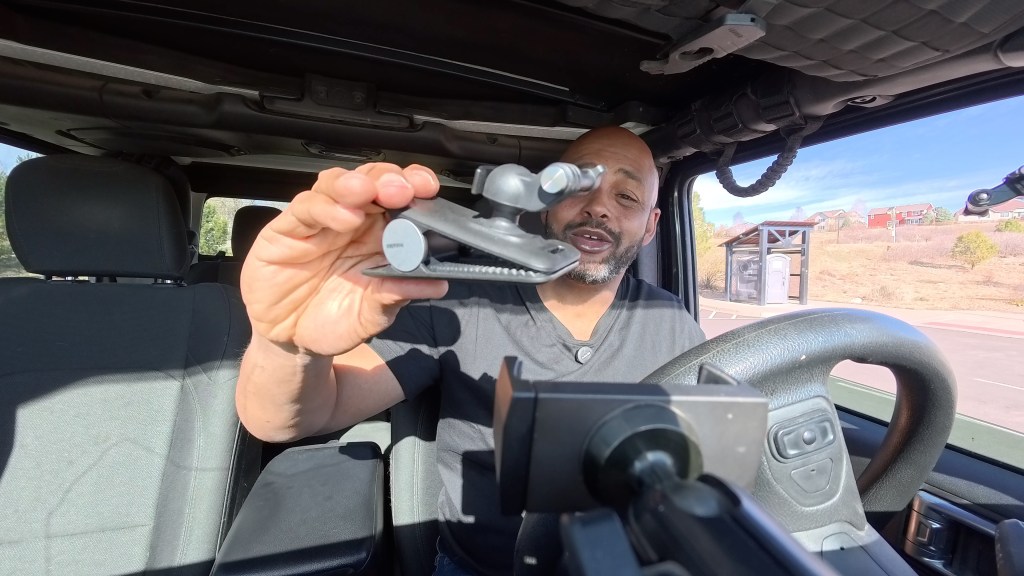
The reason this matters is simple: when you are filming solo, changing angles should not feel like a whole project.
Visor mount
With the Flexi Clip on the visor, I can get the same style of shots as the windshield setup. But the big win is adjustment. Unlock, rotate to the front shot, rotate again to the interior shot, then lock it back down.
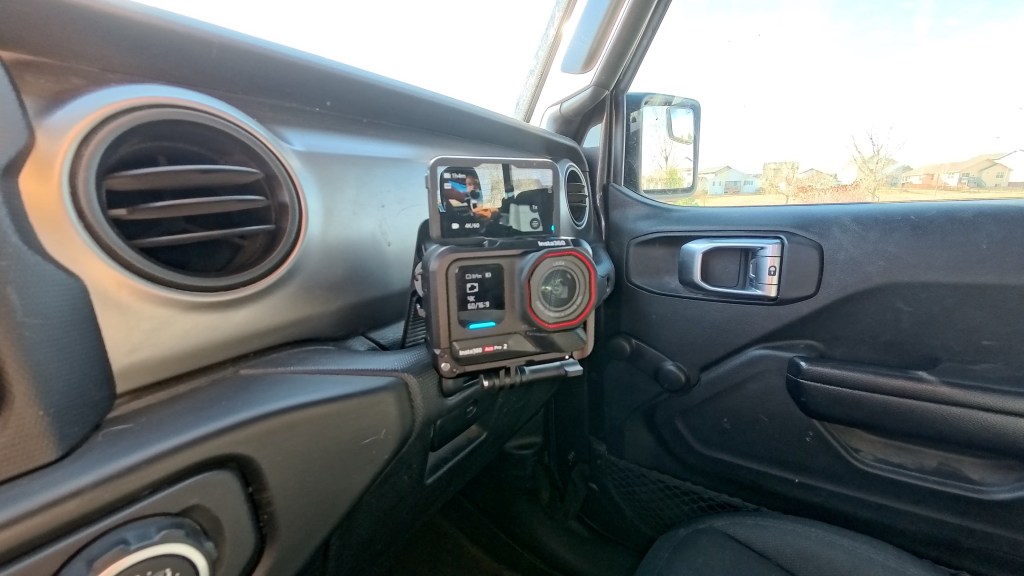
Jeep-friendly mounting ideas
Every vehicle is different, so be willing to test. I have clamped it in multiple places, including:
- Passenger side handlebar for variety
- Driver side handlebar for a similar angle to a window mount
- A plastic gap spot that seemed promising for an over-the-shoulder view (but it needed more security than I wanted)
- Dashboard vents for a stable, slightly lower POV angle that shows the steering wheel nicely
Gauges shot (speed and RPMs)
One of the most popular driving video shots is the gauges. It can be tricky because you need the camera aimed precisely, but the Ace Pro 2 makes it easier.
I mount it toward the gauge area (for RPMs, then speed), and when I want a closer look, I use Clarity Zoom to zoom in and grab a crisp shot of the instrument cluster.
This is perfect for moments where you want to show revs, redlining, or the speed you are cruising at.
Quick POV hack (optional)
If you absolutely need a fast POV look and you do not have your usual mounts ready, you can clip the camera to a hat brim. It can work, but it adds weight and is not something I would do for extended periods.
If you want true comfort and repeatable hat POV, a dedicated POV camera is better. But this is a pinch option when you are experimenting.
Safety and control: use voice control to avoid distractions
When you are learning how to film yourself driving, it is tempting to keep reaching for buttons. Do not. The safer approach is to set everything up before you roll, then control recording hands-free.
The Ace Pro 2’s voice control is one of the features I rely on the most. Once you set it up and confirm your settings using the big screen, you can start, stop, and mark moments with simple commands.
- Turn on voice control
- Select your language
- During driving: say commands like start recording and stop recording
In practice, it has been reliable enough that I do not feel like I need to yell or repeat commands to get it to work.
Audio upgrades: internal mic is decent, external mic is better
The Ace Pro 2’s internal microphone is good, including wind reduction modes and a wind block. Still, when the camera is mounted away from you, distance hurts.
In my setup, when the camera sits on the dash, it may be around 2 feet from my mouth. Since my Jeep is loud, I want the closest, cleanest audio possible.
The Mic Air solves that because it is positioned near your voice and it is purpose-built to work smoothly with Insta360 cameras and accessories.
Exterior shots: stronger mounts and smart recording control
Exterior filming adds a whole new layer of difficulty. Your camera is outside, you are inside, and you might need to stop to grab a specific shot. So you need a setup that lets you capture what you want without rushing or stopping recording at the wrong time.
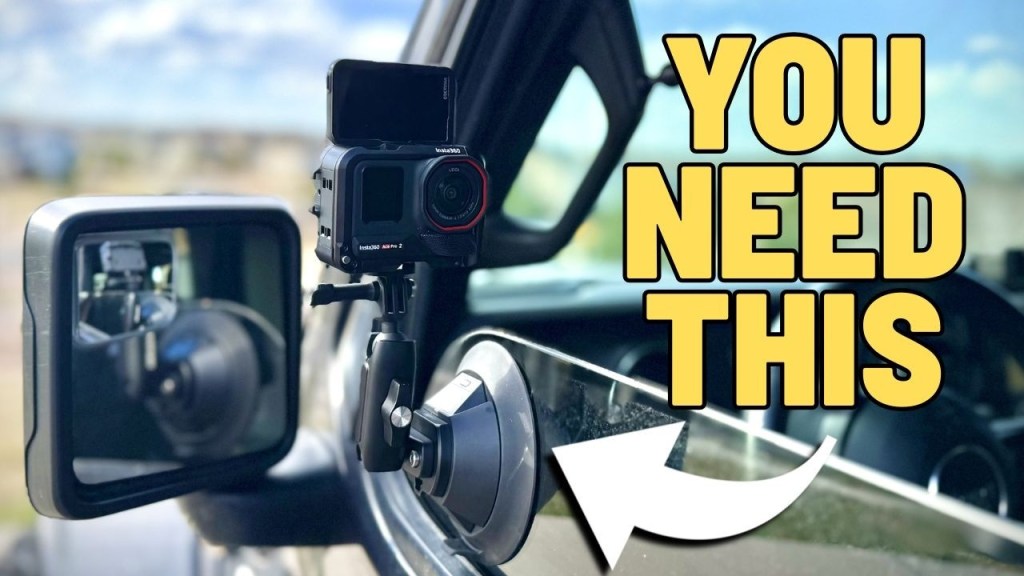
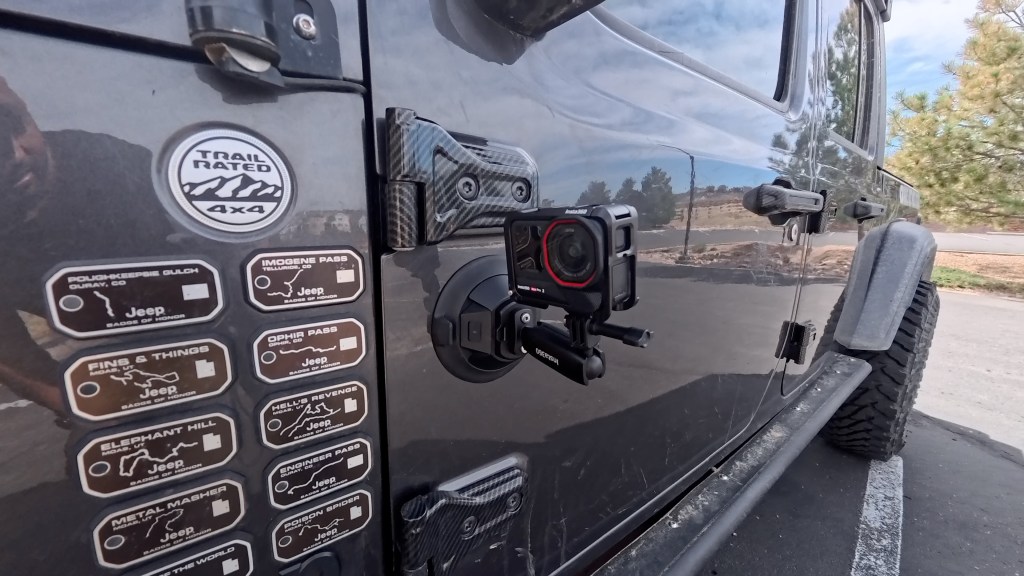
Electric suction cup mount: what I use outside
For exterior car content, I use an electric suction cup mount. Compared to standard suction, it is dramatically more secure at speed.
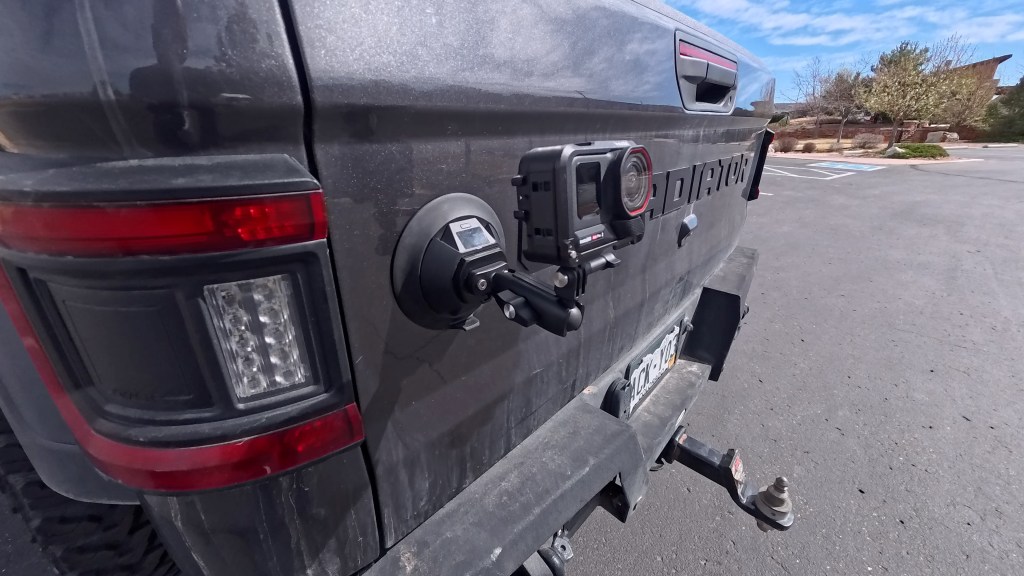
How I set it up:
- Clean the mounting spot
- Attach the electric suction mount
- Adjust as needed
- Use the pull tab to remove quickly if you need to
I have used it for driver-side drawer shots, tire closeups, hood shots aimed back toward the windshield, rear-tire angles, and tailgate perspectives.
Ring remote: start and stop without reaching for the camera
This is the feature that makes exterior filming feel realistic while you are driving.
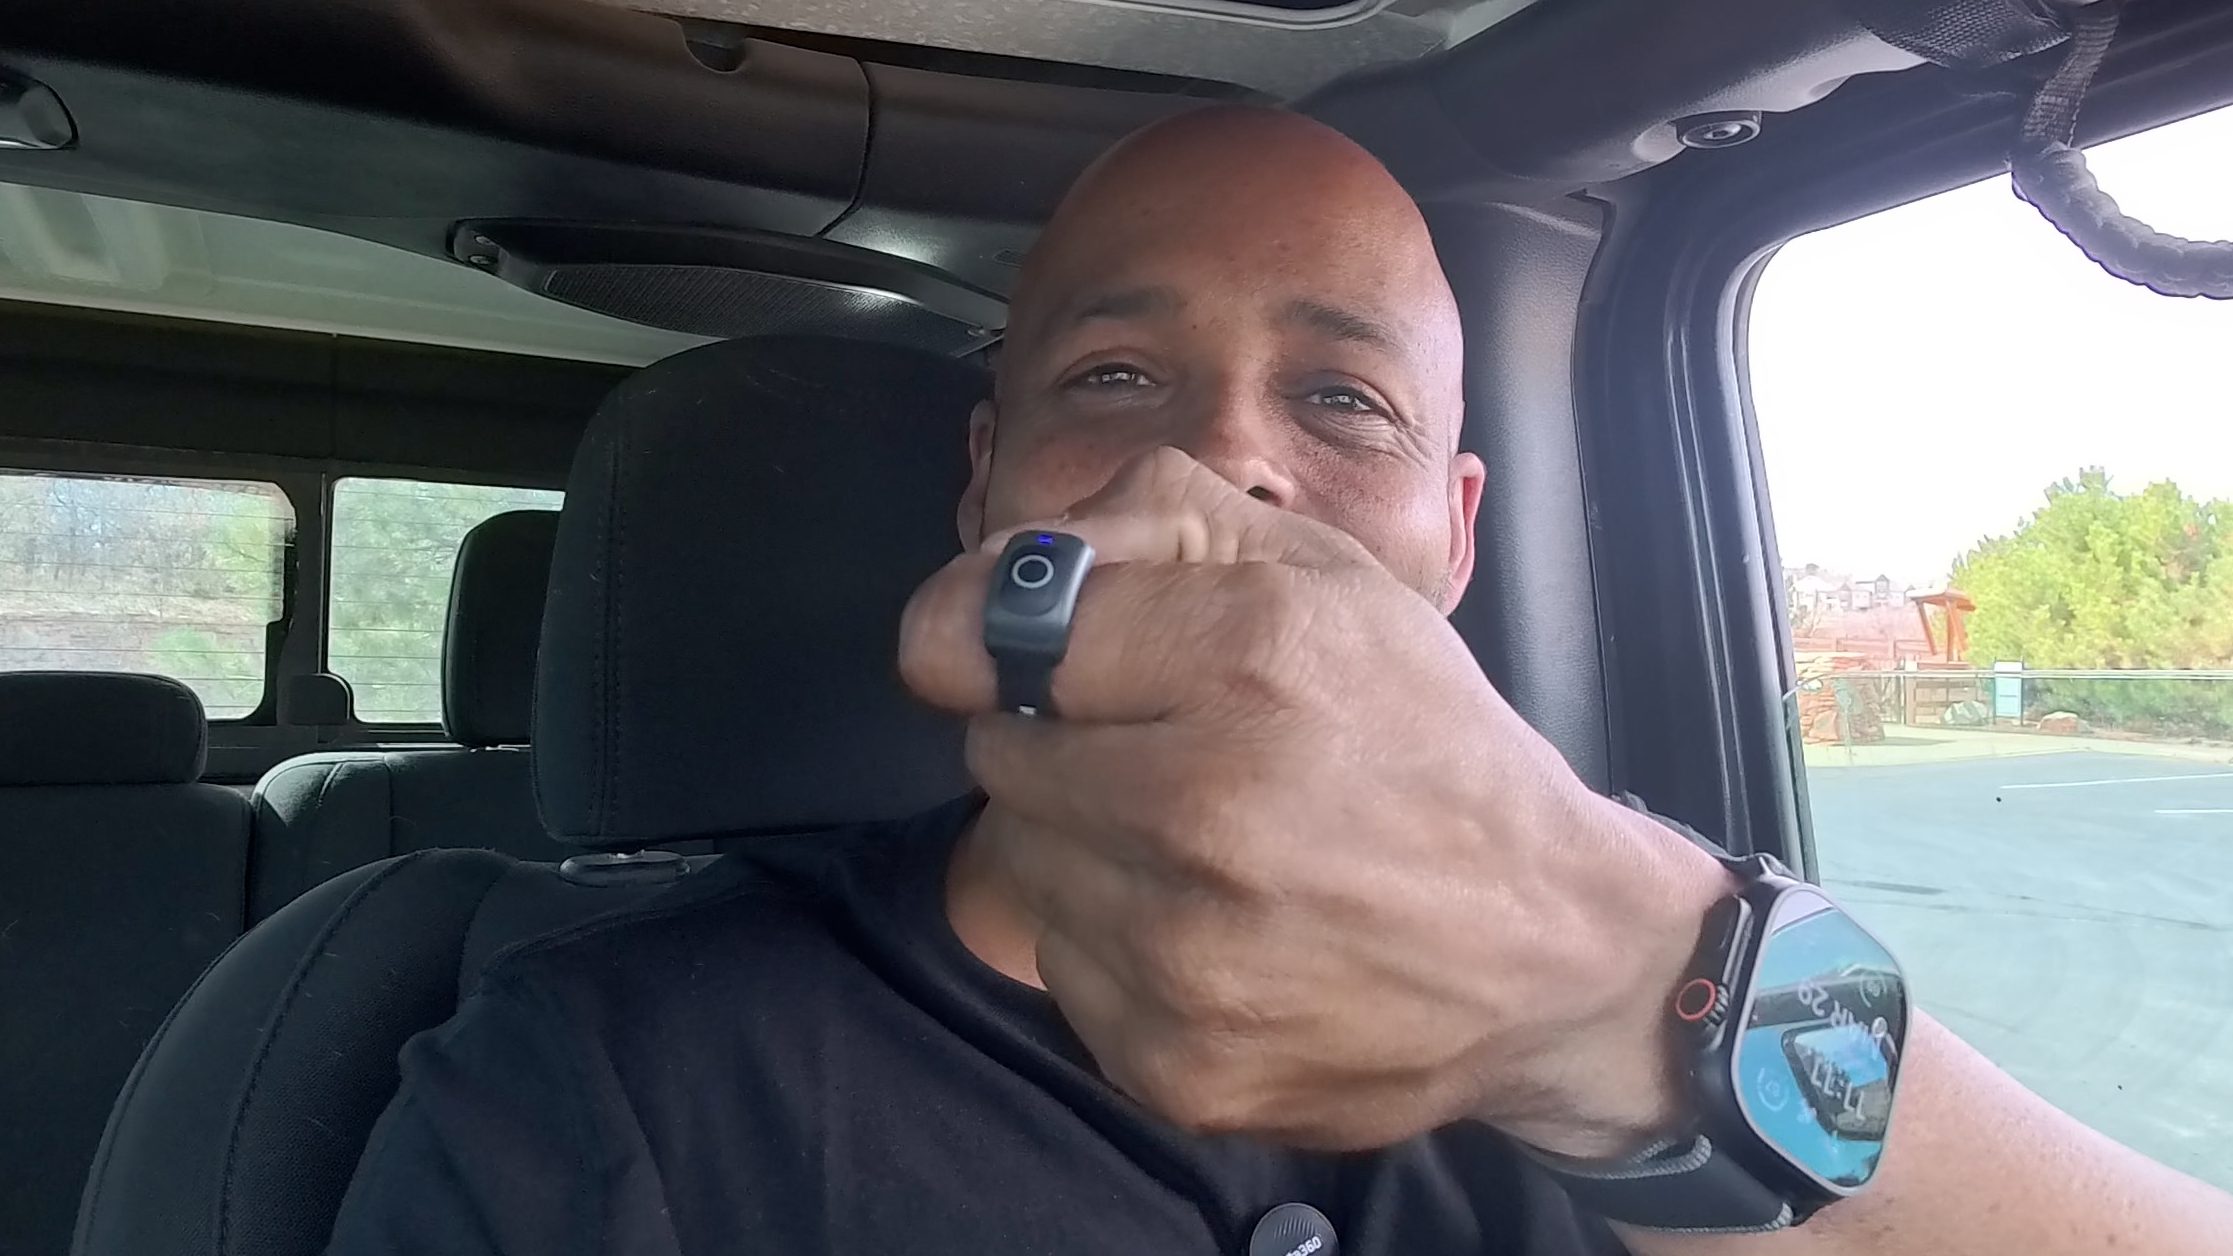
The Ring Remote lets you stop and start recording from inside the vehicle using a small remote you can wear on your finger.
When you press the remote:
- You feel vibration
- You can visually confirm the camera indicator light changes
- You stop recording with the same button press
Range is also workable because there is less stuff between you and the camera than in some other mounting scenarios.
My go-to exterior shot angles
If you want inspiration for your own driving montage, here are a few angles that tend to work well:
- Driver side drawer for a clean body-and-badge vibe and tire detail
- Hood forward shot looking back toward the windshield
- Rear-quarter tire angle showing tire and ground context
- Tailgate rear view for a grounded “you are on the road” perspective
Recommended solo creator gear list (Ace Pro 2 driving kit)
If you want the same building blocks I use, here is the core shopping list for how to film yourself driving:
- Insta360 Ace Pro 2
- Utility Frame
- Flexi Clip (best for interior control)
- Suction cup mount (fast windshield/window angles)
- Electric suction cup mount (for exterior stability)
- Mic Air (for cleaner audio near your mouth)
- Ring Remote (for starting and stopping exterior recording)
Final tips to make your driving footage look intentional
- Plan for transitions: mix wide interior shots (context) with gauge shots (details).
- Control recording hands-free: use voice control or the ring remote so you never break focus.
- Test mounts before committing: especially for exterior work where drop risk is higher.
- Listen as much as you shoot: the best angle is wasted if audio is muddy or overly windy.
Once you dial in your mounting spots and control method, how to film yourself driving becomes repeatable. That is the difference between “I got lucky with one good clip” and building driving content you can consistently produce.
Note: product links referenced in this post are affiliate links where applicable.

Leave a comment